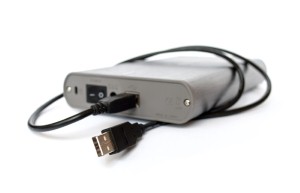
Formatting an external hard drive for a Mac
By admin on September 12, 2011
External hard drives can be handy tools for consumers that want extra storage space for their data. No matter the computer or operating system, these hard drives need to be formatted first for compatibility. Drives that had been previously connected to Windows computers will need to be re-formatted for Mac computers, and vice versa.
What is formatting?
To format a drive means to prepare it for data storage. During this process, any existing data on the drive is erased, and its processes are made compatible with the computer it will be working with.
External hard drives can be a great way to backup and retrieve data, especially if a computer's internal memory is lost after Mac repair.
How to format an external hard drive on a Mac
1. Plug the device into the Mac computer via a USB port
2. Open "Disk Utilities," which is found in the "Utilities" folder in "Applications"
3. Select the external hard drive from the list on the left hand side of the screen
4. Click the "Erase" tab located in the body of the dialog box
5. Select a volume format and, if desired, name the drive
6. Click "Erase."
Volume formats
Macs provide a number of different options in the dropdown menu titled "Volume Formats." Below are the two most helpful formats.
• Mac OS Extended (Journaled) – This is the default format. If selected, the hard drive will be accessible for Mac computers only. The data stored on the drive will be unreadable if connected to a Windows computer.
• MS-DOS File System (FAT32) – Under this format, the drive will be compatible with both Mac and Windows computers, but file sizes will be restricted to 4 gigabytes. Some Virginia Mac repair specialists may recommend this arrangement for users who own both types of computer.
For a Free Computer Repair Quote Call (202) 670-9966
Related MAC Repair Articles
New Apple update causes booting issuesSpring cleaning a Mac computer
Netflix logs 1 billion streaming hours in June
HELP! I Deleted My Document!
Macs and Malware


Leave a Reply